Introduction
Today we’ll be building further on the steps we took in the previous post ; “Autoscaling Docker hosts on Azure with Virtual Machine Scale Sets & Rancher“.
What will we be doing?
- Deploy our VMSS with a scale-up & a scale-down configuration
- Stress our VMSS so it will scale-up
- Remove the stress so our VMSS will scale-down
Let’s get ready to rumble!
Let’s start by deploying our VMSS… I’ve taken the setup from the previous time and extended the auto scale rules ;

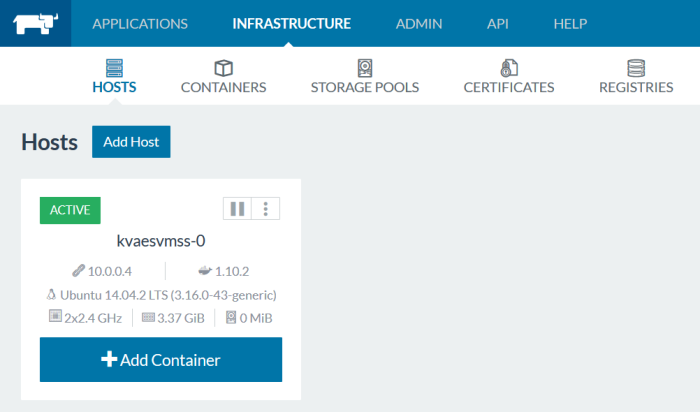
And after deployment, we see our first node popping up…
So now let’s stress that node! I’ll add a basic linux node with a small command that will stress the system to the max without doing anything useful. 🙂
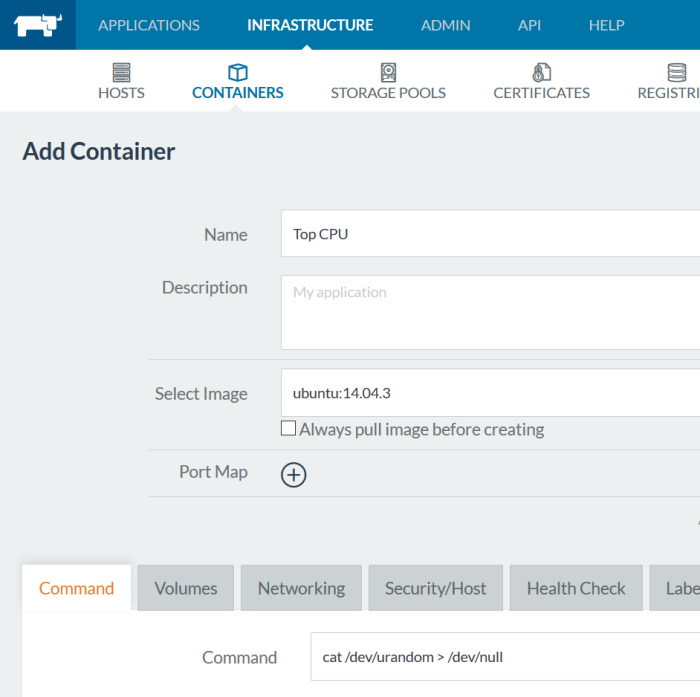
The container is now running and we can verify that the process in the container is consuming way too much CPU.

And our host system verifies that stress …


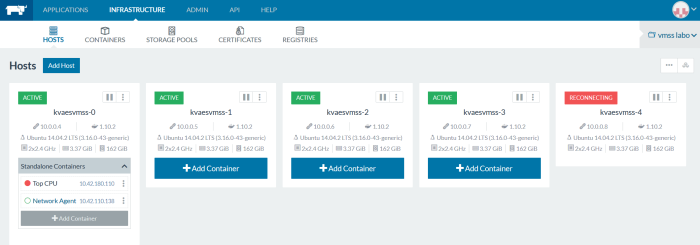
After a while, we can see our VMSS scaling up!

You can even see those steps in the “Audit Logs”.

And there is our second node!

And now we’ll be reducing the stress… by stopping that bad container.

Immediately we notice the drop in CPU on our host system.

And after a bit our capacity will start decreasing. As an important sidenote, be sure to setup your auto scale parameters correctly. During this PoC, I noticed that the scale-up took some time, and the mechanism was up to 5 nodes quite quickly…

Anyhow, in Rancher we can see that we had 5 nodes and that the scale-down brought it to 4…
To two…

As also shown in Azure.

And back to our minimum!

TL;DR
So what did we learn today?
- You can auto scale up and down.
- The tweaking of your autoscale parameters is a very important facet.
