Introduction
So what will we be doing today? We are going to leverage the power of the combination between docker containers & the rancher eco system. As a demonstration, we’ll be publishing “Owncloud” with a “mysql” backend. As we tend to like it a bit more secure, we’ll introduce a loadbalancer service as SSL termination. This as we want to keep our “Owncloud” as “vanilla” as possible. We’ll be pointing that service towards the outside world and will make it accessible via the “external dns”.

What can we optimize further about the design? (but is out-of-scope for today)
- Add sidekick containers for backup purposes
- Add data volume containers
- Introduce scalable worker containers (“Owncloud”)
- Introduce convoy for our data containers
Setup CloudFlare as External DNS Service
I’ve always loved “CloudFlare“, so I was happy to see that the “CloudFlare DNS” was present in the Rancher Catalog!
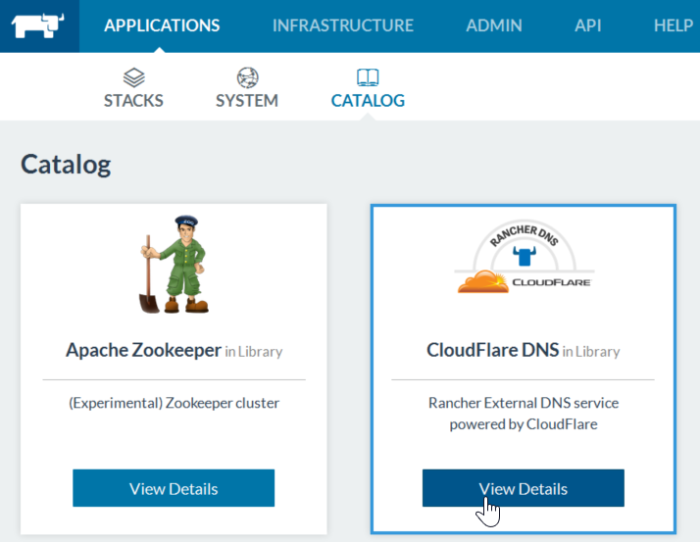
So I’ve added that one to my deployment. You can find it under your “System” applications. It will be triggered for registering containers in the external DNS.

And if we fast forwards a bit… You can see that newly added containers are added to your CloudFlare DNS registry ;

Setup Application Server & Database
Setting up “Owncloud” with a “mysql” has never been this easy with the docker hub images… So we’ll be using those for our demo here.
Let’s start with mysql ;

And as the “mysql” suggests, we can use some environment variables to tune the deployment to our needs.

Press “create” and let the magic start. 😉 Next up is the “Owncloud” deployment. Here we’ll be doing the same, with one slight difference… We’ll be using the “Service Links” functionality, where we indicate that we use the “Mysql” container/service, and link it as “mysql”.

This will enable us (later on) to ping from “Owncloud” to our “mysql”-container without any hassle.

Create SSL Certificate
In the next phase we’ll need an SSL certificate for the SSL offloading part. In regards to generating a self signed certificate, I would suggest to follow this guide ; https://help.ubuntu.com/12.04/serverguide/certificates-and-security.html
Summarized ;
openssl genrsa -des3 -out server.key 2048
openssl rsa -in server.key -out server.key.insecure
penssl req -new -key server.key.insecure -out server.csr
openssl x509 -req -days 365 -in server.csr -signkey server.key.insecure -out server.crt
The .key is your private key and the .crt is your public certificate.
Setup LoadBalancer Service as SSL Terminator
Now that we’ve got our ssl certificates, we’ll be adding the self signed certificate we created just now. Browse to “Infrastructure” and then “Certificates”. Here you can add the certificate in order to use it later on. The private key is the content of the .key file and the certificate is the .crt file.

Then we’ll go back to our “Applications” tab and select “Add Load Balancer” from the drop down box in our stack.

Here we’ll say that our source port is 443 (default for SSL). We’ll change to protocol to “tcp” and select “ssl”.

You’ll notice that some additional options suddenly appeared. Here you can select the certificate we just created.

For the target service, select our “Owncloud” service and press “Save”.
Putting all the pieces together
So now we have three services ;

- OwncloudSSL for our public endpoint + SSL termination
- Owncloud as our application server
- mysql as our database server
If you want, you can even visualize the setup… On stack level, go to the drop down box and select “View Graph”.

Now you’ll see the links between the services… Fancy isn’t it. 😉

And how do I reach the deployment?
Check out the FQDN of the load balancer service… This has been registered via our CloudFlare External DNS Service!

So if we use this FQDN to connect via https://, we’ll end up seeing our Owncloud setup.

Now you may wonder… Why not just expose the port to the host?

Where this is a quick & dirty approach… What if the node goes down and the scheduler restarts the containers on another host? You will NOT be able to reach it anymore and an intervention will be needed. This is not the way we want it, or do we? 😉
Conclusion
- Using an external DNS service helps us with service discovery
- A load balancer service can be used as a reverse proxy with SSL termination functionality
- Linking services provides features in terms of accessibility.
- Package management just became very cool thanks to Docker & RancherLabs!

Great Article, I like it, thank you very much!
You mention sidekick containers for backup purposes, can you tell us some more about it?
Check out the following container to get an idea of a sidekick container for backup purposes ; https://hub.docker.com/r/blacklabelops/rsnapshotd/
Example
So the sidekick uses the “volumes-from” as a source and backups to /snapshots. The latter is then mapped on host / convoy level to outside the docker ecosphere.
Nice Post!! 🙂